
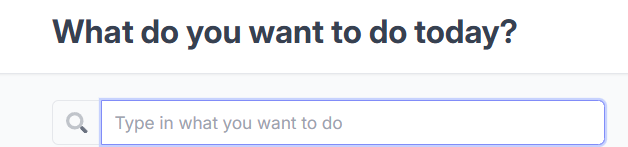
I’ve written many times about the service which Pubshare provides to independent presses and authors, (notably here, and here) but recently was made aware that I haven’t done a full walk-through of how to set up a book with it for publication.
First, though, I want to talk about where Pubshare isn’t useful. If you are an Indie Author, and you’ve paid for a cover and editing already, and the royalties from your book come to you and only you, you’ll want to proceed to your own kdp dashboard and set the book up there. No need to pay out the 10% to Pubshare. However, if you are working with others on the book and need to manage royalty sharing, there aren’t any better options than working with Pubshare. It’s well worth the nominal fee off the top to not need to handle the bookkeeping and tax documents yourself. If you are going royalty-shares with an editor, a cover designer, a co-author, or wrangling an anthology with a dozen participants, Pubshare is the way to go. (also, a note, although I’m obviously a fan of Pubshare, they don’t know I’m writing this, and I’m in no way compensated, this is just to help other authors and anthologists)
Before you begin, you’ll want to have a Pubshare account, obvs, and don’t forget to set up your payment options which are counterintuitively in the billing section. You will also need (refer to your publishing checklist, here):
- An ebook cover/the front cover of the book in jpg format
2. a properly formatted ebook file as an ePub (nice, but optional, is a vellum file of the same. You DO NOT need this. It’s purely optional)
3. A concept of the categories (you get three) your book should land in on Amazon, and the keywords you’ll use for this book
4. A description (blurb) for the book
5. The price you want to sell your ebook at
If you are doing a print version, you will need:
6. A properly formatted and sized pdf file of the print version
7. A properly formatted and sized pdf file of the print cover spread
8. The price you plan to sell your print book at
Navigate to the Bookshelf on Pubshare, and click the big purple button to Add Book.

Now, you’ll have the initial settings to manage:
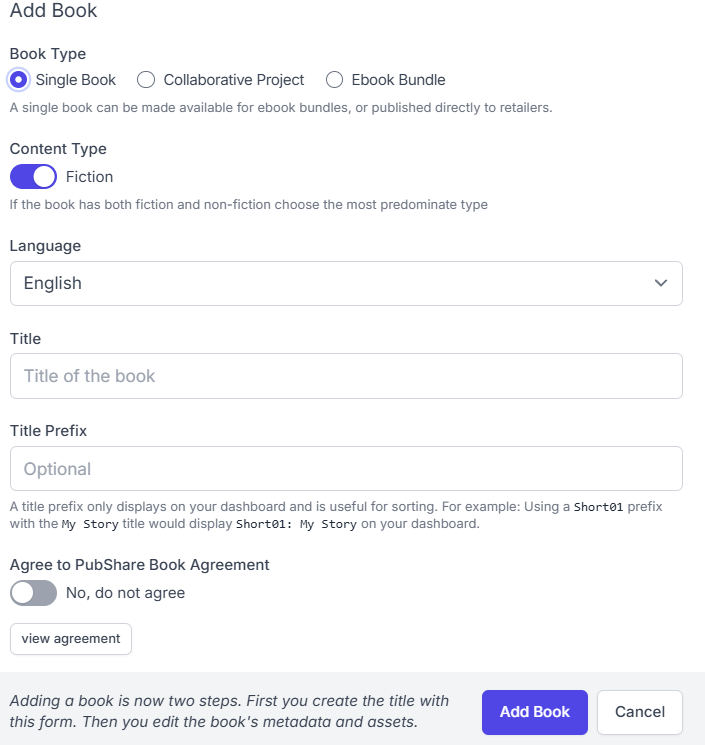
A single book is what you’d choose for, say, a novel where the editor and cover artist have agreed to take a chance on you and accept royalty shares. The collaborative project is where you’d have multiple authors, and a ebook bundle is self- explanatory (and I’ve never done this one, anyway). Down there near the bottom you’ll see the “Agree to Pubshare…” and when you click this, the button slides over and goes that nice bright purple. You’ll see this again elsewhere, so remember it.

This is what a new project without much entered will look like. Focus on the “Actions” over there to the right and click on “Project Settings.”

That top block you set up on the initial page, and you can’t change it. If you messed up, you’ll want to delete it now and start over.
The series and shared world are useful if you are working in either.

This block is the place for title, a subtitle is actually useful to the Amazon algorithm, as is the teaser (side note, you don’t have to limit yourself to Amazon with Pubshare, but it’s the ecosystem I’m most familiar with). The “Description” box is where you’ll put your blurb.
Next bit is the Participants. You’ll need to have the email addresses all your people have used to sign up with Pubshare, or if they have not yet, Chuck provides a handy little automated invite email you can send out (note that you want to give them a heads-up so they know what’s coming!). Each participant can be assigned a role (i.e. Author, Editor, Illustrator) and you can ‘hide’ anyone whose name shouldn’t appear on the retail listing at Amazon or elsewhere (if you have admin folks, for instance). Keep in mind that only the top ten on this list will appear at Amazon, that’s the limit they have, other storefronts may vary.

Anyone who hasn’t gone and clicked the ‘accept participation’ button will appear in pink, rather than the green ‘ready’ so you’ll know at a glance who to remind to get that done so they don’t hold up the book.
Once you have all of the participants entered, on the main settings page it will look a little like this:
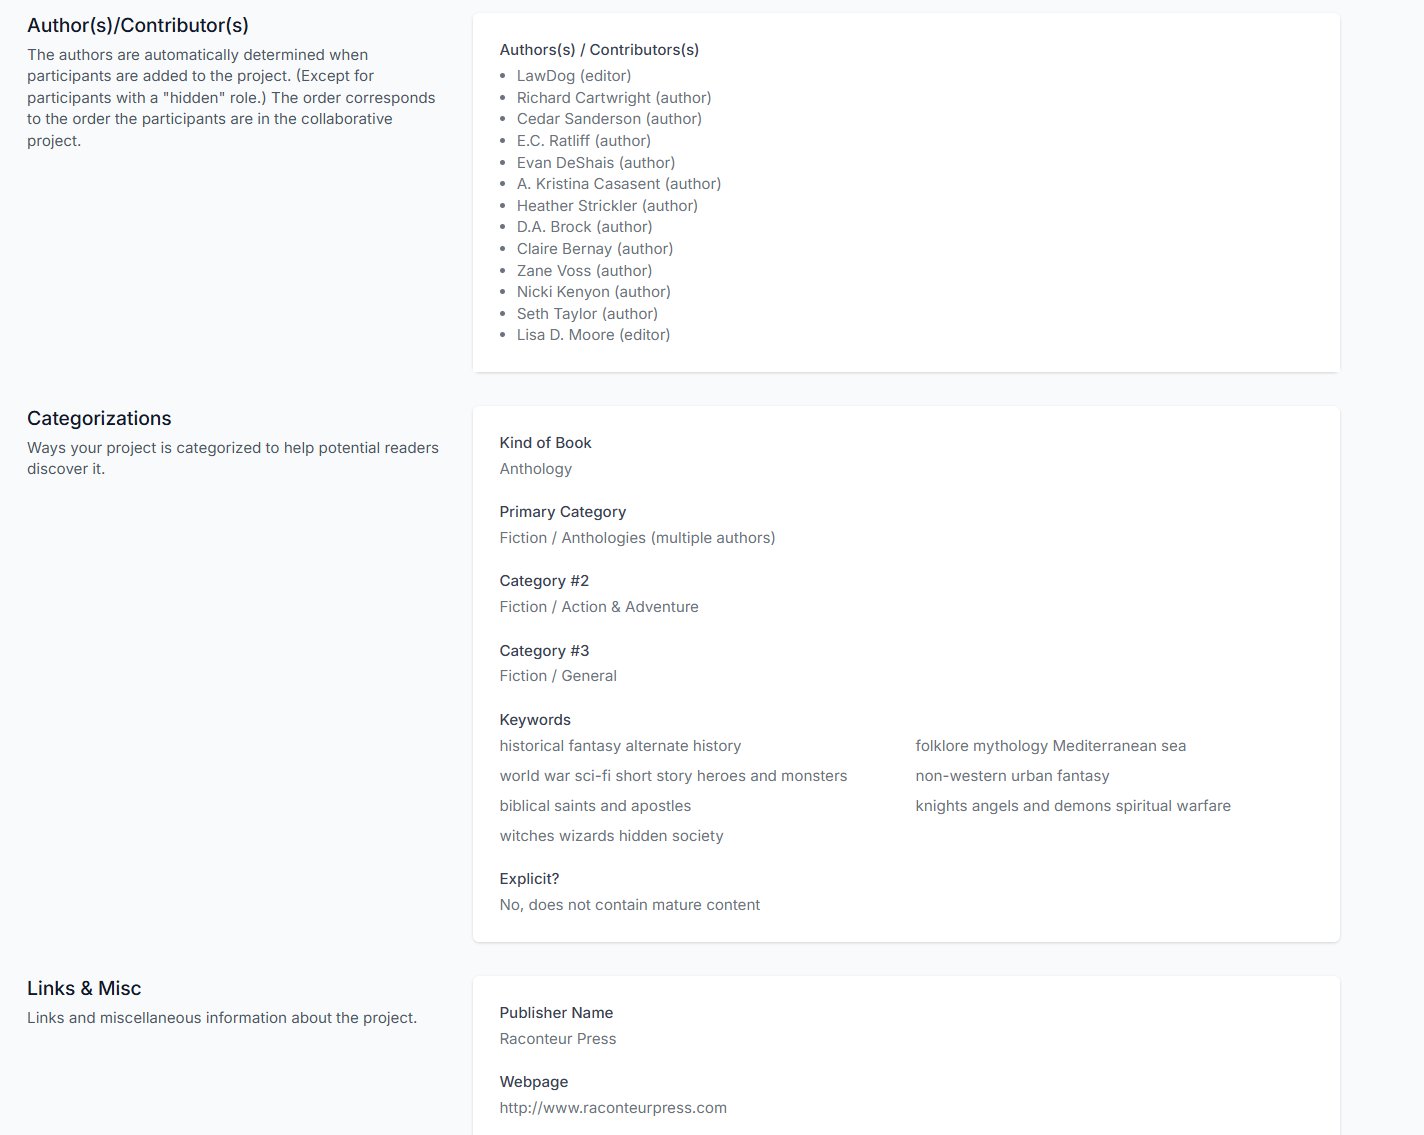
This book already has the categories and keywords entered.
Moving on to the “Project Assets” you get into the uploading process.

The cover image recommended size is smaller than I use – because I’m dual-formatting for the print edition and the ebook, rather than creating two different projects, I like to work efficiently that way. For the interior file, Vellum is preferred, but it is absolutely not necessary if you are new to this, don’t plan to publish often, or just want to use something else (like Atticus for Windows users). You must have an ePub, though. I recommend generating this using Calibre if you aren’t yet ready to invest in professional formatting software. You do not need a mobi file, at all, it’s no longer used at any retailers I am aware of.
Something to note: if you do upload a vellum file, first upload an ePub file so that your authors will be able to download a free ebook copy of the work. If you upload the vellum file first, you won’t be able to upload the ePub file.
The Ebook pricing is fairly simple.

I would not recommend setting this price under 2.99, which is the bottom of the 70% royalty on Amazon. Pubshare isn’t suited for publication of a single short story, and you don’t get enough return on a 35% royalty to compensate multiple people. It’s just not a good business practice.

Pubshare offers several options for retailers which it publishes through.

Keep in mind that if you want to place your ebook in KDP Select (Kindle Unlimited) you cannot have it available for sale at any other retailers. Which includes Pubshare itself.
Inside the “Settings” tab of the retailers, you’ll want to check that your description, categories, and keywords are all carrying through from the main settings page, as they should. If you do want to take advantage of KDP Select, on the Kindle settings tab, go to the middle box, Kindle Extra Settings, and set that to yes.

Here is also where you’d set up ages for a children’s book.
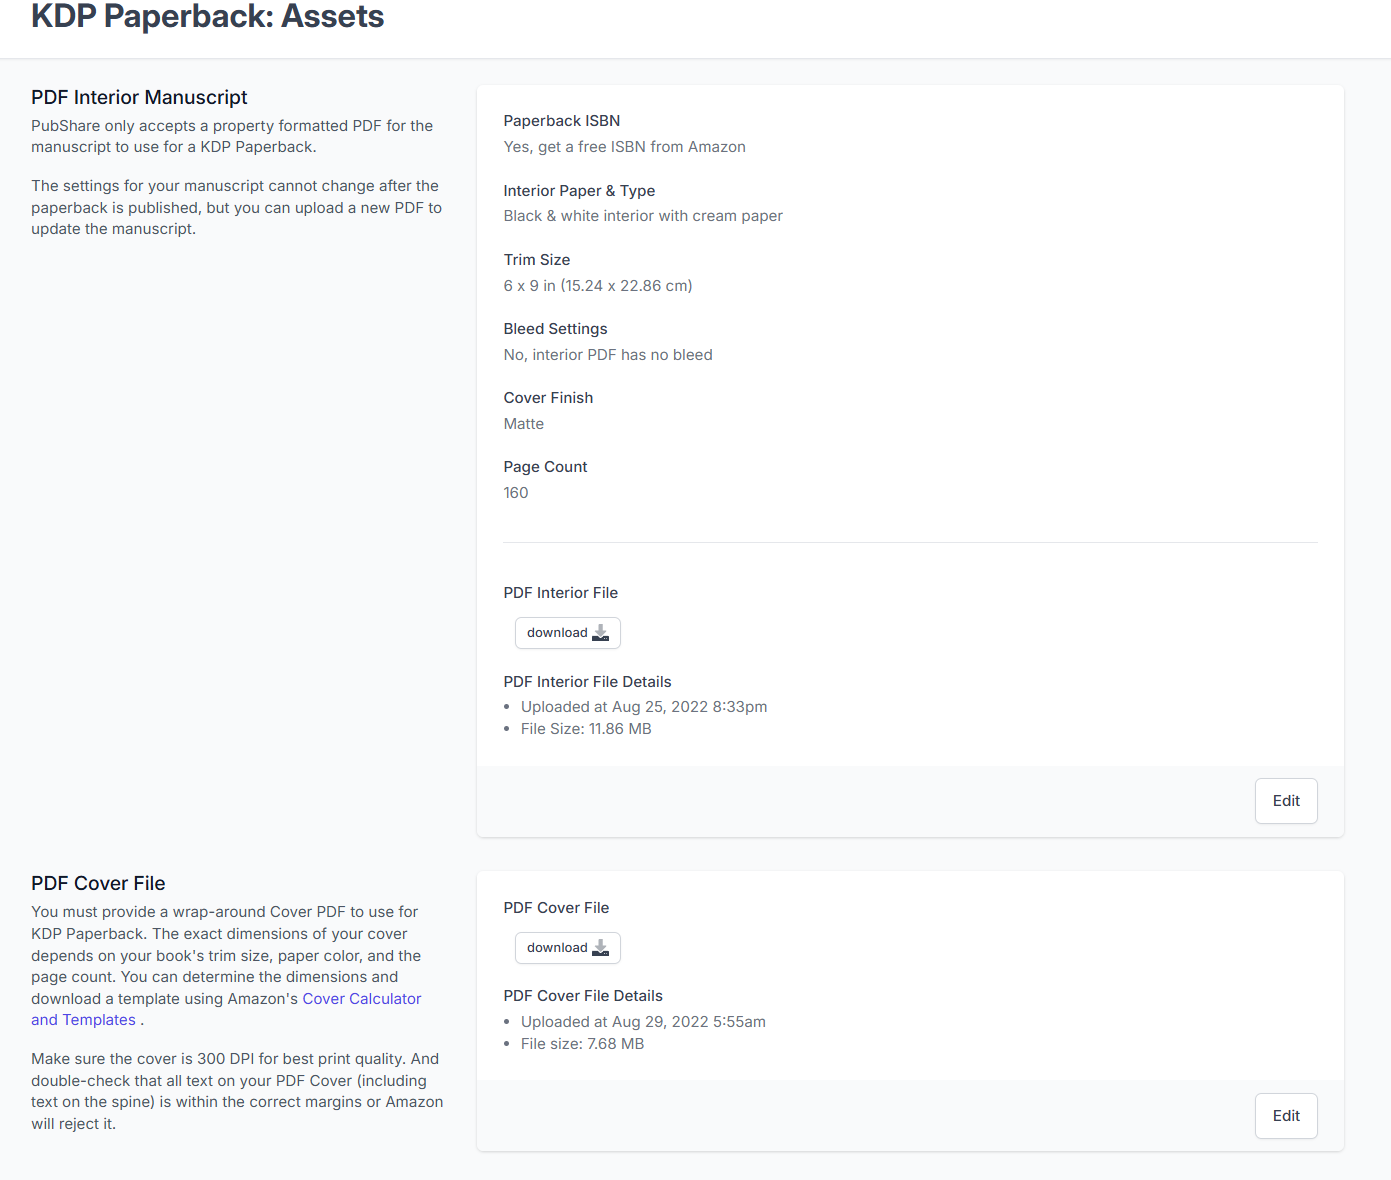
In the KDP Paperback, or KDP Hardback settings, you’ll find at the bottom where you can set up the pricing for your print version.

There will be a lower price bracket recommended based on the estimated print cost, and if you selected Expanded Distribution (which raises the cost in some cases and sales).
Moving on to the KDP Paperback Assets, you’ll be able to upload your print interior and print cover files.
Once that’s done, and you’ve double-checked everything, you’re ready to push the big purple button and publish! You can do this by going to the Retailers tab, clicking on “Published Status” and you’ll see the button there.

Once you’ve pushed the button, you’ll see the status, as above. If there is a problem with the book, Chuck will email you with as many details as he knows to help you set it right. Proper preparation will help prevent this.
Once the book is selling, you’ll have access to a great dashboard to see all the sales, reads, and monies coming in. See more about that at this post I did a while back.
Now. That’s a really long post. Any questions?


2 responses to “Pubshare: a Tutorial”
Thank you! I don’t need the info yet, but it’s always good to learn before it is needed.
Heh, a friend of a friend used to have a pie-in-the-sky shared world anthology idea. If he’s still into it, I’ll see about getting this in front of him 🙂
For myself, it’s hard to imagine a set of circumstances where I would end up as anthology organizer/editor, but good to have the information anyway.